

Perfectly Paired: How Laser Cutting and UV Printing Work Together to Grow Your Business
Laser cutting and UV printing are complementary, not competing, technologies. The laser cuts and engraves shape, texture, and dimension into a material; the UV printer then applies full-color, instantly cured graphics on top. Combining them in one workflow lets a small business produce custom, multi-step products in-house — with faster turnaround, lower per-unit cost, and less reliance on outside vendors — that neither machine could produce alone.

How the technologies work together
The ideal production workflow depends on the application, as both "cut first, then print" and "print first, then cut" offer distinct advantages.
Cutting first is often preferred when laser smoke, char, or dust could affect print quality or ink adhesion. After cutting and any engraving are complete, the finished part is aligned in the UV printer using a template or custom jig for accurate printing.
Printing first can be the more efficient option for high-volume production. Printing an entire sheet before laser cutting maximizes material usage, reduces handling, and allows the laser to precisely cut each finished piece using registration marks or contour-cutting software.
Whichever workflow you choose, a few best practices help ensure consistent results:
- Jigging and registration: A laser-cut jig securely positions parts for accurate alignment between cutting, engraving, and printing.
- Substrate preparation: Non-porous materials may require an adhesion promoter before printing, while highly absorbent materials may benefit from a light seal coat.
- Choose the right workflow: Consider your material, design, and production goals when deciding the order of operations.
Five ways the combination grows a small business:
1. Enhanced creativity and customization
Direct answer: combining shape (laser) and full-color graphics (UV) lets a shop offer dimensional, branded products that neither machine can produce alone.
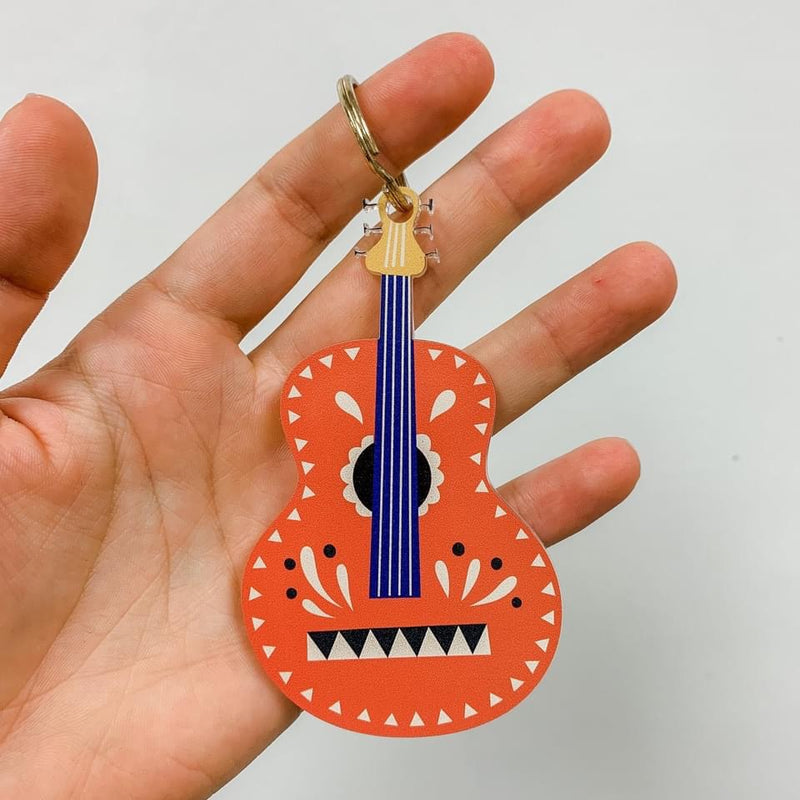
- Dimensional ornaments and décor: laser-cut a shape (snowflake, state outline, monogram), then UV print full-color art or a photo directly onto it — no labels, no decals.
- Engraved-and-inked awards: engrave a recessed design into acrylic or wood, then use UV white ink as a base layer so color pops even on dark or clear substrates, followed by a spot-gloss layer to simulate enamel or resin fill.
- Layered, multi-material assemblies: laser-cut separate acrylic layers at different depths, UV print graphics on individual layers, and stack them for a 3D, backlit-capable sign or display piece.
- Textured branding: multiple UV ink passes can create a raised, tactile logo or texture — popular for premium packaging, plaques, and coasters — something flat printing or vinyl can't replicate.


2. Efficient, on-demand production
Direct answer: the workflow removes plate-making, screen-burning, and drying time, making low-minimum, on-demand orders realistic for a small shop.
- Nesting software on the laser side maximizes how many parts you get from a single sheet, cutting material waste and per-unit cost.
- Instant cure UV ink means a piece can be cut, printed, and boxed in one sitting instead of sitting on a drying rack overnight like solvent or screen-printed ink often requires.
- Custom jigs built on the laser mean a five-piece custom order and a 500-piece batch order use the same setup process, just repeated — no retooling cost between them.
3. Cost-Effectiveness and Margin
Direct answer: in-house cutting and printing removes outsourcing markup and supports higher prices on custom, dimensional products.
- Fewer outsourced steps: cutting and printing in-house removes the markup you'd otherwise pay a third-party fabricator or print shop.
- Faux-finish techniques: gloss, texture, and metallic-look UV inks can approximate the look of marble, wood grain, or brushed metal on a cheaper base substrate — a premium look without premium material cost.
- Higher perceived value per item: a laser-cut custom shape decorated with full-color, textured UV printing reads as bespoke, supporting higher price points than a flat printed or engraved-only item.
- Waste reduction: nested cutting layouts and instant-cure printing both reduce scrapped material and reprints compared to less precise cutting methods or slower-drying ink systems.


4. Eco-friendly production
Direct answer: UV-curable ink and laser nesting both reduce specific categories of waste and emissions compared to older cutting and printing methods.
- UV-curable ink cures via light rather than heat or air-drying, and produces far fewer volatile organic compounds (VOCs) than solvent-based inks.
- Laser cutting is a precision, subtractive process — nesting software means less scrap wood, acrylic, or metal ends up in the trash compared to die-cutting or hand-cutting methods.
- No tooling waste: with no plates, screens, or molds to produce and discard, short-run and custom orders don't generate the tooling waste that traditional print or injection methods do.
5. Expanding into new markets
Direct answer: the combination qualifies a shop for markets that require both a custom shape and full-color branding in one product.
- Recognition and awards: plaques, trophies, and corporate recognition pieces that combine engraved text with full-color logos.
- Promotional products: branded drinkware, phone accessories, keychains, and desk items where a distributor needs a custom shape and full-color logo in one piece.
- Signage: ADA-compliant signage, directional signage, and custom retail signage that need both cut shapes and printed graphics.
- Personalized gifts and home décor: photo gifts, pet memorial pieces, wedding and event décor, and monogrammed items.
- Packaging and prototyping: short-run custom packaging or product prototypes for other small businesses that don't want full manufacturing minimums.
- Seasonal and event products: ornaments, wedding favors, team and sports gear, and holiday décor that benefit from quick turnaround on small batches.


Common mistakes to avoid
- Skipping adhesion testing on new substrates — run a small test batch and a scratch/adhesion check before a full order, especially on plastics and coated metals.
- Underestimating heat distortion: some materials warp slightly under laser engraving; account for this before precision UV printing on top.
- No registration system: without a jig or registration marks, aligning printed graphics to engraved details becomes a guessing game that wastes material.
Getting started: questions to ask before you invest
- What's your primary product mix — flat items, cylindrical items, or both? This determines whether you need a flatbed UV printer, a rotary attachment, or both.
- CO2 laser (better for wood, acrylic, leather, engraving) or fiber laser (better for metal marking and cutting)?
- What's your realistic monthly volume — does it justify a jig-and-batch workflow, or will you mostly run one-offs?
- Do you have adequate ventilation and dust/fume extraction for both machines?


Frequently Asked Questions
What's the difference between laser cutting and UV printing?
What's the difference between laser cutting and UV printing?
Laser cutting is a subtractive process: a focused laser beam cuts or engraves shapes, text, and textures into materials like wood, acrylic, or metal. UV printing is an additive process: a UV LED printer deposits full-color ink directly onto a surface and cures it instantly with UV light. Used together, the laser creates shape and texture, and the UV printer adds color and graphic detail.
Can any UV printer print on laser-cut materials?
Can any UV printer print on laser-cut materials?
Most flatbed and rotary UV printers can print on common laser-cut substrates such as wood, acrylic, and coated metal. Non-porous plastics typically need an adhesion promoter first, and the printer's Z-axis (height) clearance limits how thick or dimensional a laser-cut piece can be before printing.
Do I need special software to combine the two processes?
Do I need special software to combine the two processes?
Yes — laser-cutting software (such asLightBurnor the machine manufacturer's own software) to design and nest cut files, and RIP software for the UV printer to manage color profiles, white ink layers, and print height. Many shops also build the base artwork in Illustrator or CorelDRAW, then export separately to each machine.
Should I cut first or print first?
Should I cut first or print first?
Cut first in almost all cases. Laser cutting produces soot, smoke residue, and fine dust that can interfere with ink adhesion if it lands on a freshly printed surface. Cutting first also lets you use cut edges or engraved marks as registration points for aligning the UV print.
Is combining laser cutting and UV printing eco-friendly?
Is combining laser cutting and UV printing eco-friendly?
It's a lower-impact option relative to older methods, though not emissions-free. UV-curable ink cures instantly under UV LED light and produces fewer volatile organic compounds (VOCs) than solvent-based inks, and laser nesting software reduces scrap material compared to manual or die-cutting.
What's the minimum equipment needed to start?
What's the minimum equipment needed to start?
One laser cutter/engraver — CO2 for wood, acrylic, and leather, or fiber for metal — and one UV printer, flatbed for flat items or rotary-equipped for cylindrical items like tumblers and bottles. Entry-level versions of both have become more affordable and compact, making this workflow realistic for home-based and startup shops.